Manage Requests
Note: This option is only available for requests that are linked to a patient record. Important: This request will no longer be visible to others in the online requests messenger group. Users with access to modify the User field can still access the request. Tip: You can also double-click a request to display the window.
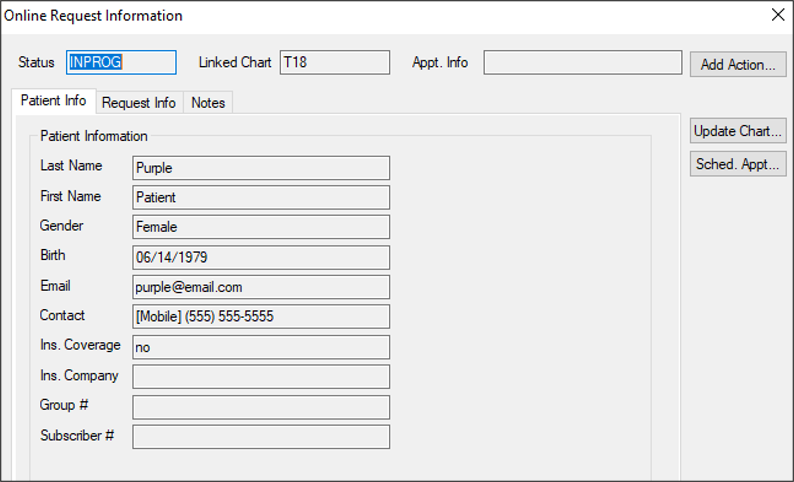
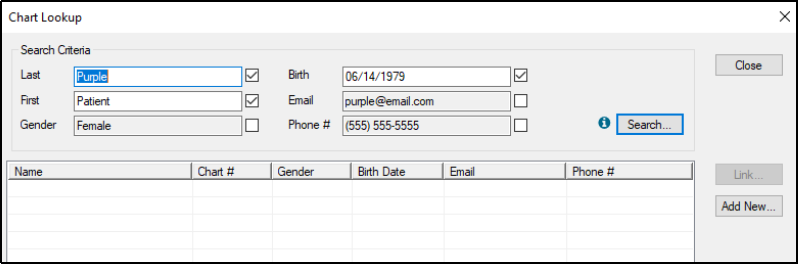
Tip: If necessary, you can modify the content in the First and Last fields. Notes: Note: The information from the online request is auto-populated in the applicable fields. The patient record is saved, and the Guarantor, Employer and Insurance tabs display.
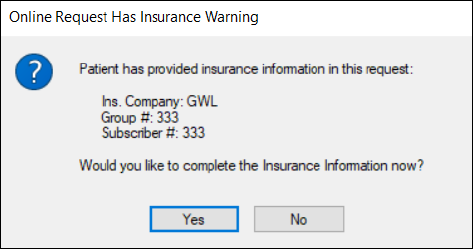
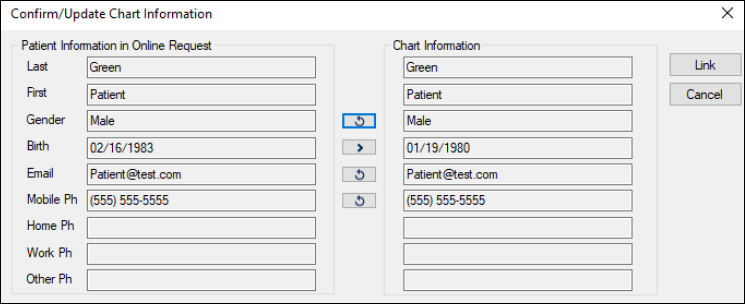
Tip: Any differences display a Tip: To undo an action, click the Important: If a patient record is updated with request information and saved, it cannot be undone from the Confirm/Update Chart Information window. If insurance information was included in the online request, a message displays prompting you to enter the insurance information.
Note: If you choose not to enter insurance information at this time, you can add it manually later.
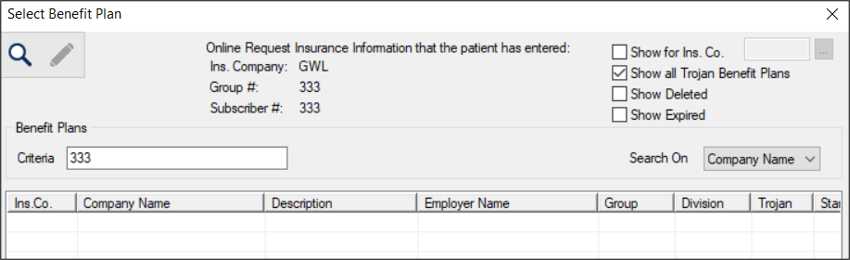
Note: If a matching benefit plan is not found, you can close this window and enter a new benefit plan according to your usual process or call the patient to confirm their insurance information. Once the online request is associated with a patient record, the following occurs:
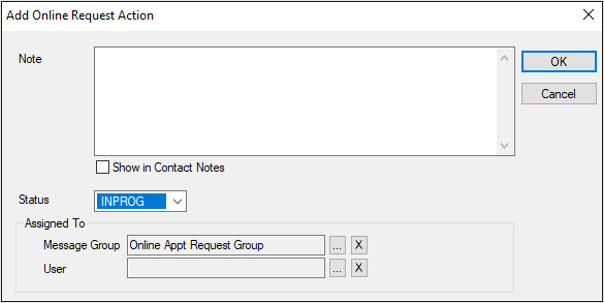
When online requests are submitted by patients, they are given a default status and are assigned to a user or messenger group in the Personal Planner module. Depending on the reason for treatment selected, the request may need to be assigned manually to a different user or messenger group. The status of the request is updated automatically when certain activities are performed. This includes the following: Tip: You can configure axiUm to send emails to patients automatically when a status changes. When necessary, you can manually modify online requests using request actions and assignments. This can include updating the status of a request, reassigning the request to another user or messenger group, or adding a note to the request. To manage request actions and assignments: Tip: You can also access the window from the Online Request Information window > Add Action… button.
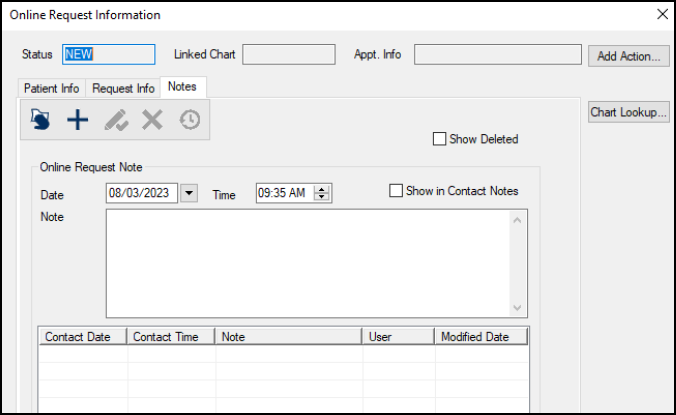
When necessary, notes can be added to a request. You can add notes from two places: To manage request notes: Tip: You can also double-click a request to display this window. Tip: If necessary, you can select the Show Deleted checkbox to display deleted notes in the list.
Tip: Select an entry to display the specific information in the fields. When ready, you can schedule an appointment for the patient that will be associated with the online request. Depending on your configuration, this will open the Patient Appointments window or Family Appointments window. From there, you can schedule the appointment according to your usual scheduling process. Note: If a patient has an online request without an associated appointment, any user that attempts to schedule an appointment for the patient will be prompted to assign the appointment to the request. To schedule an appointment from the request: Tip: You can also double-click a request to display this window. Note: This option is only available if the request is associated with a patient record and an appointment. Important: This only removes the link with the request and does not unscheduled the appointment. Note: This option is only available for requests that are linked to a patient record. Important: This removes the link between the online request and the patient and will remove any contact notes added via the online request. If applicable, the appointment will be unlinked from the request as well.
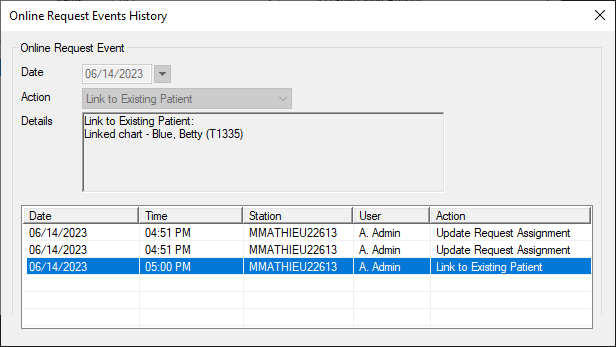
Tip: Select an entry to display the specific event details in the fields.
|
 button.
 button.